Discover easy tips to seamlessly blend 100% human hair curly clip-in extensions for a natural look. Get voluminous, flawless curls effortlessly!
Introduction
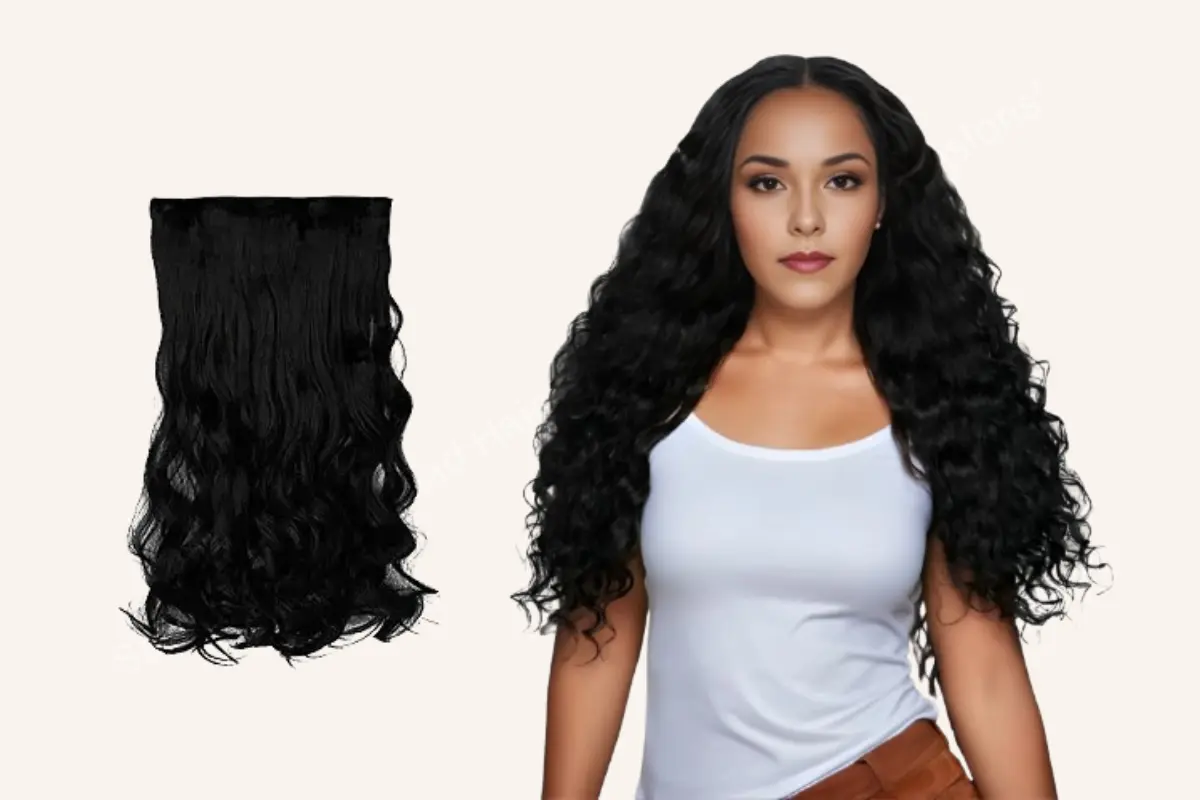
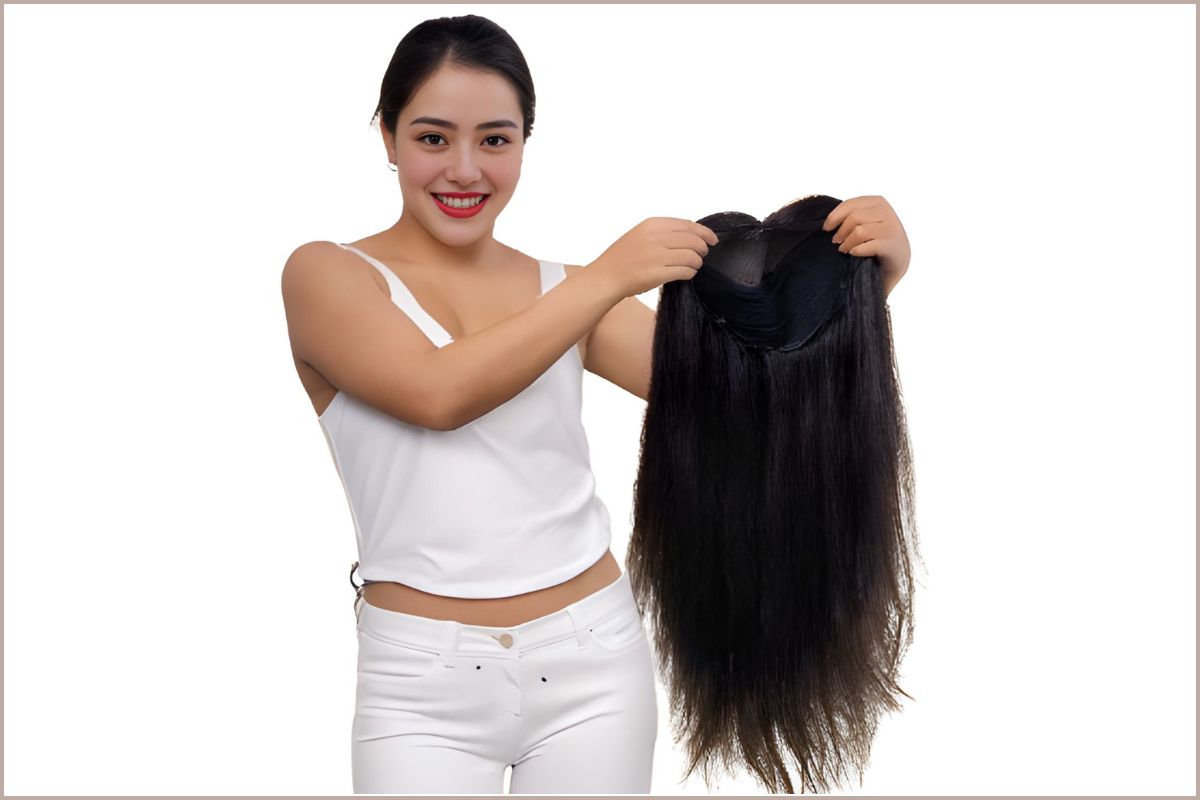
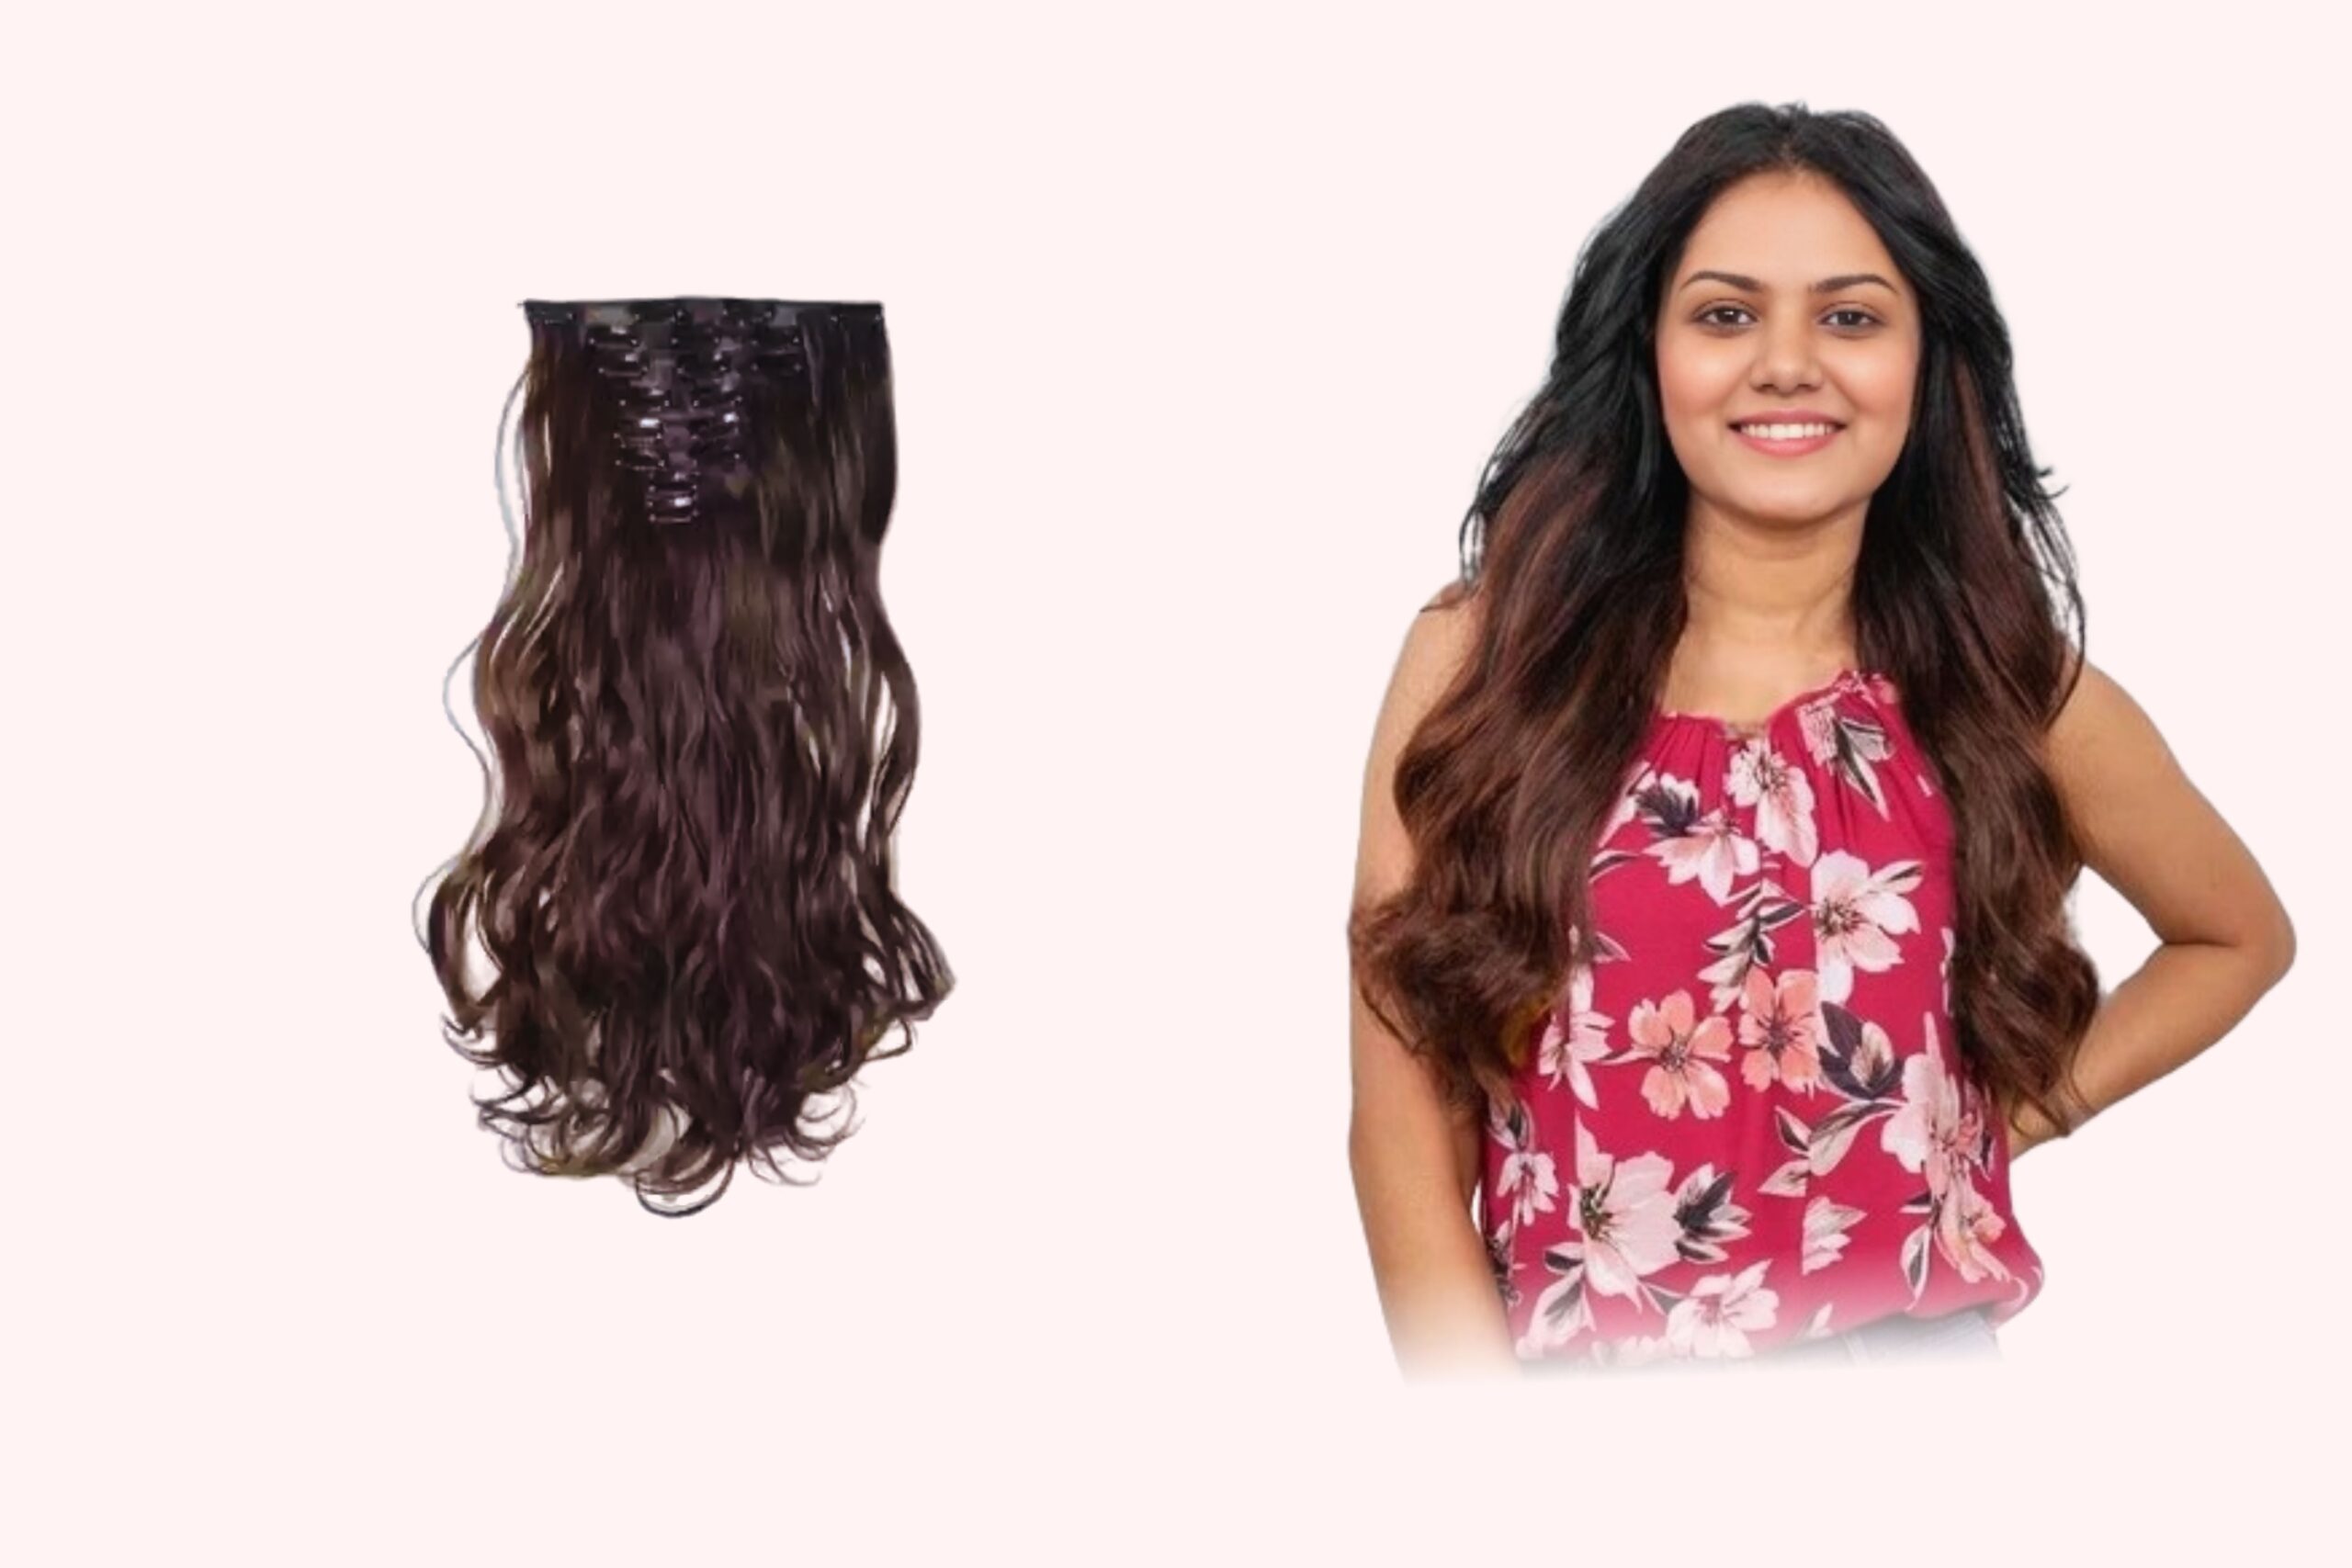
Curly clip-in hair extensions are a game-changer for anyone looking to add volume, length, and definition to their natural curls. However, achieving a seamless blend is crucial to ensure a natural, flawless look. This guide will walk you through the best techniques, tools, and styling methods to help you blend 100% human hair curly clip-in extensions effortlessly.
Why Choose 100% Human Hair Curly Clip-In Extensions?
When selecting curly clip-in extensions, opting for 100% human hair offers several benefits:
- Natural Look & Feel – Human hair extensions mimic the texture, shine, and movement of real hair.
- Easy to Style – Unlike synthetic hair, human hair extensions can be washed, colored, and styled using heat tools.
- Long-Lasting – With proper care, high-quality human hair extensions can last for months or even years.
- Better Blending – They blend more seamlessly with natural curls, reducing the risk of an unnatural appearance.
How to Blend Curly Clip-In Extensions Naturally: Step-by-Step Guide
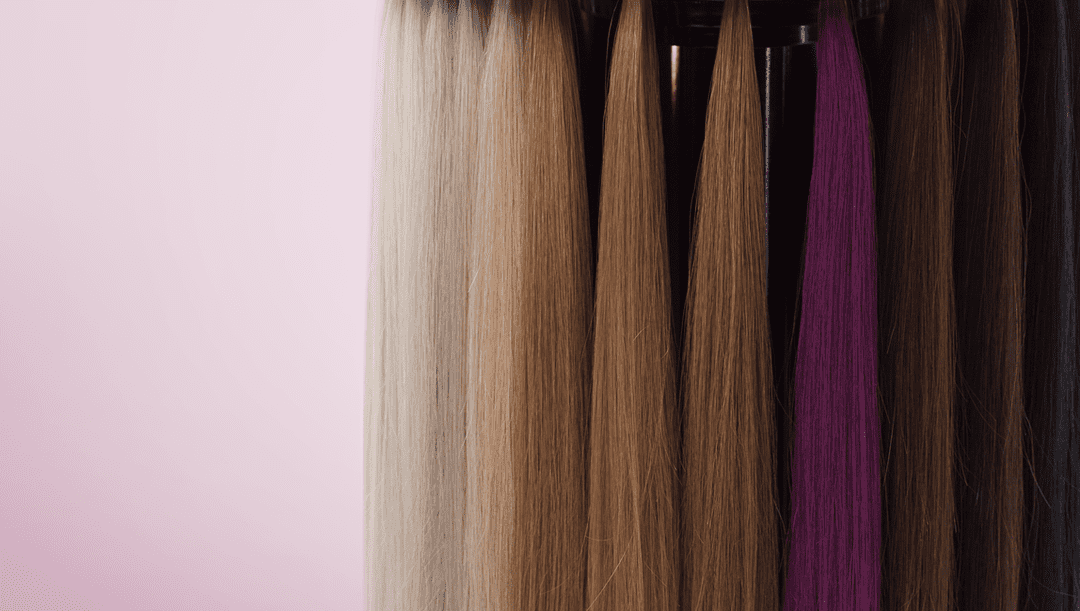
1. Match Your Curl Pattern
The key to a flawless blend is selecting extensions that closely match your natural curl pattern. Whether you have loose waves, tight ringlets, or coily curls, choose a texture that complements your hair type.
2. Prep Your Hair
Before clipping in your extensions, wash and condition your natural hair to enhance curl definition. Use a leave-in conditioner or curl-enhancing cream to keep your curls moisturized and frizz-free.
3. Section Your Hair Properly
Divide your hair into small sections to create a natural-looking blend:
- Start at the nape of your neck and clip the rest of your hair up.
- Work in horizontal layers, adding clip-ins between each section.
- Avoid placing extensions too close to the crown for a seamless transition.
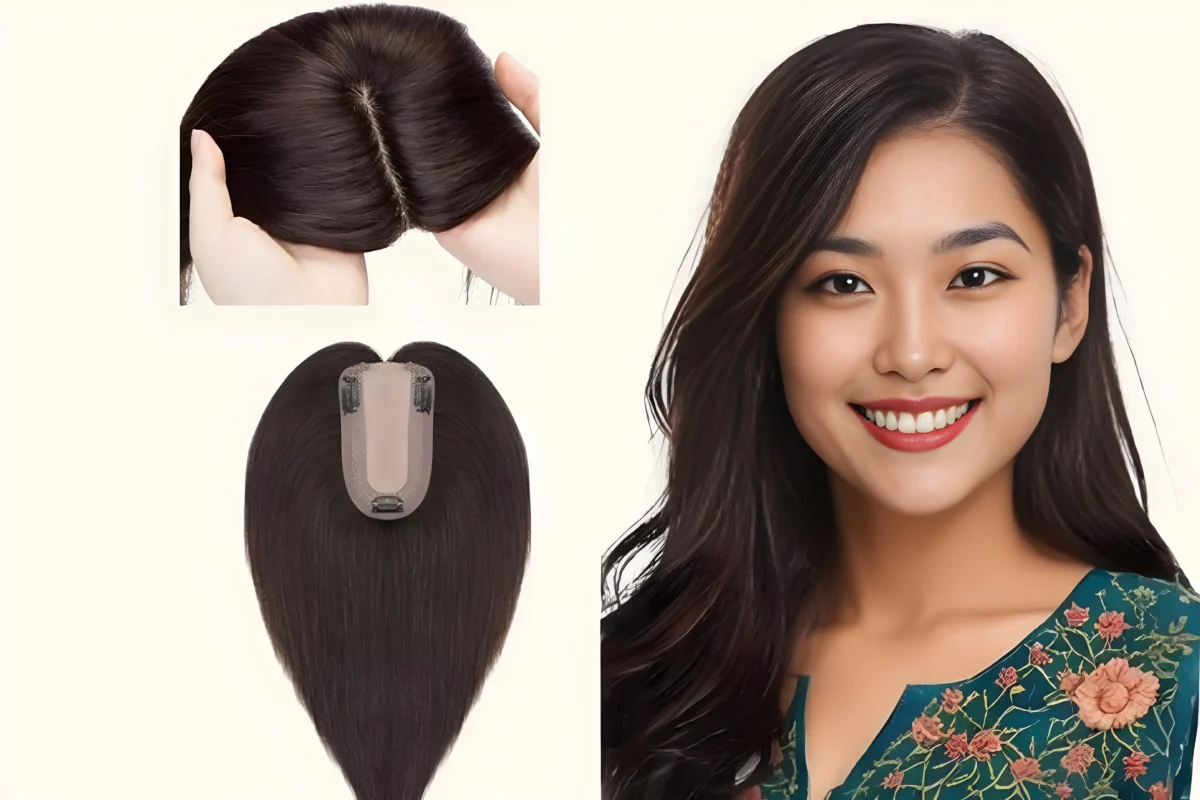
4. Apply and Blend the Extensions
- Open the clips and secure them close to the scalp.
- Finger-comb or gently shake the hair to blend it with your natural curls.
- Use a spray bottle with water and leave-in conditioner to help merge the curls together.
5. Style for a Cohesive Look
To ensure a seamless blend, style your natural hair and extensions together:
- Use a curling wand or flexi rods to define curls.
- Scrunch your hair with a lightweight mousse to enhance volume and texture.
- Let your hair air dry or diffuse for a voluminous, natural finish.
Top Tools and Products for Seamless Blending
Investing in the right products can make blending easier and keep your extensions looking flawless:
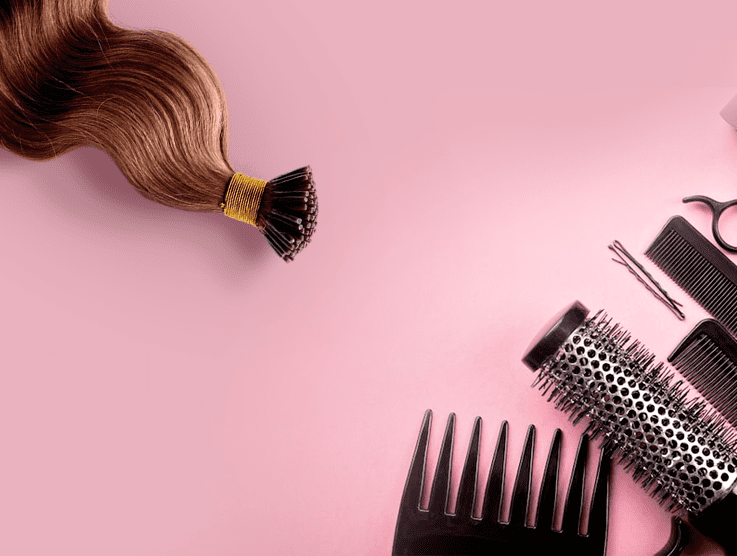
Recommended Tools:
- Wide-tooth comb (for detangling without frizz)
- Curling wand or flexi rods (for enhanced curl definition)
- Sectioning clips (for precise installation)
Best Products for Natural Blending:
- Sulfate-free shampoo & conditioner
- Leave-in conditioner & curl cream
- Lightweight styling mousse or curl-defining gel
- Heat protectant spray (if using hot tools)
Common Blending Mistakes to Avoid
Even with the right tools, some mistakes can make extensions look unnatural. Avoid these blending pitfalls:
- Mismatched Curl Patterns – Always select extensions that match your natural curl texture.
- Visible Clips or Wefts – Place clip-ins strategically to prevent them from showing.
- Overusing Product – Too much styling product can weigh down curls and create buildup.
- Ignoring Maintenance – Keep extensions clean and hydrated to prevent tangling and frizz.
Pro Tips for Long-Lasting Curly Clip-In Hair Extensions
- Wash Extensions Properly: Use a gentle sulfate-free shampoo and deep condition regularly.
- Store Correctly: Keep extensions in a silk or satin bag to prevent tangling.
- Avoid Excess Heat: If styling with heat, always use a heat protectant to prevent damage.
- Moisturize Regularly: Spritz with a mix of water and leave-in conditioner to maintain hydration.
Conclusion
Blending 100% human hair curly clip-in extensions naturally requires patience, the right products, and proper techniques. By matching your curl pattern, prepping your hair, and styling strategically, you can achieve a flawless, voluminous look that enhances your natural beauty. Are you ready to transform your curls? Try these tips today and enjoy the seamless, natural look of curly clip-in extensions!
FAQs
1. How can I blend curly clip-in extensions naturally with my own hair?
To achieve a seamless blend, choose extensions that closely match your curl pattern. Layer the wefts naturally, apply a curl-enhancing product, and gently finger-comb your hair with the extensions for a flawless look.
2. What products help curly clip-in extensions blend better?
Using curl creams, lightweight mousses, and leave-in conditioners can enhance the curl definition and help extensions blend smoothly. Avoid heavy oils that might make the curls look greasy or weighed down.
3. Why do my curly clip-in extensions look unnatural, and how can I fix it?
Extensions may look unnatural if they don’t match your curl type or are placed incorrectly. Trim them for a more natural shape, fluff them with a wide-tooth comb, and use a diffuser to blend them seamlessly into your hair.
4. Can I curl or straighten my human hair curly clip-in extensions?
Yes, since they are made from 100% human hair, you can use heat-styling tools. However, always apply a heat protectant and use low heat settings to prevent damage and keep the curls intact for longer.
5. How do I maintain my curly clip-in extensions so they last longer?
To extend the life of your extensions, wash them with a sulfate-free shampoo, detangle gently with a wide-tooth comb, and let them air dry. Store them in a satin or silk bag to prevent frizz and tangling when not in use.